| bluepoof.com
email me
using a screw extractor
Time needed: 10 minutes
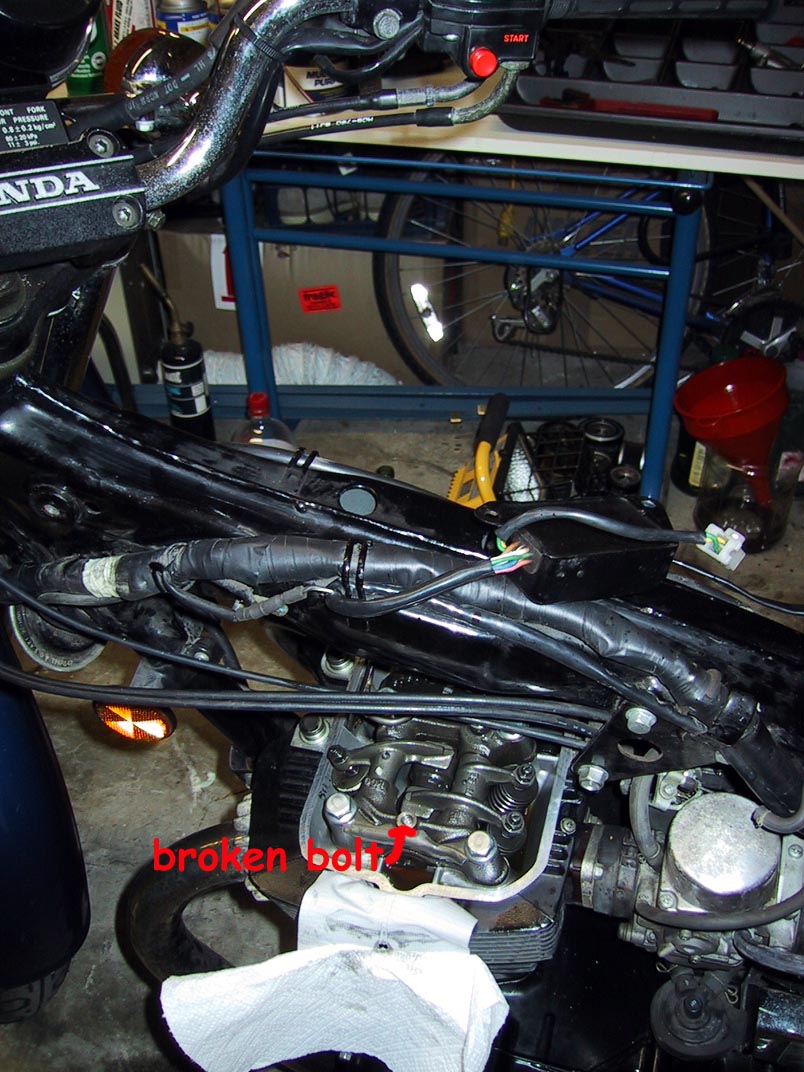
- a broken bolt (d'oh!) that you can access easily from at least one side
- a power drill
- a normal drill bit of slightly less diameter than the broken bolt
- a screw extractor bit that corresponds with your normal drill bit
- a tap wrench
background.
Oops. It's always that last bolt, isn't it? You're finally done with your project, and are just putting that last bolt back
together....your mind wanders, thinking about how -- at last! -- you'll be out riding instead of wrenching the stupid bike, when... SNAP!
Your bolt snaps right in two, right down inside where you can't pull it back out. Foo! Curse all you want (I do), but don't worry --
as long as you can get to one flat side of the bolt, you can get it out in very little time with a screw extractor.
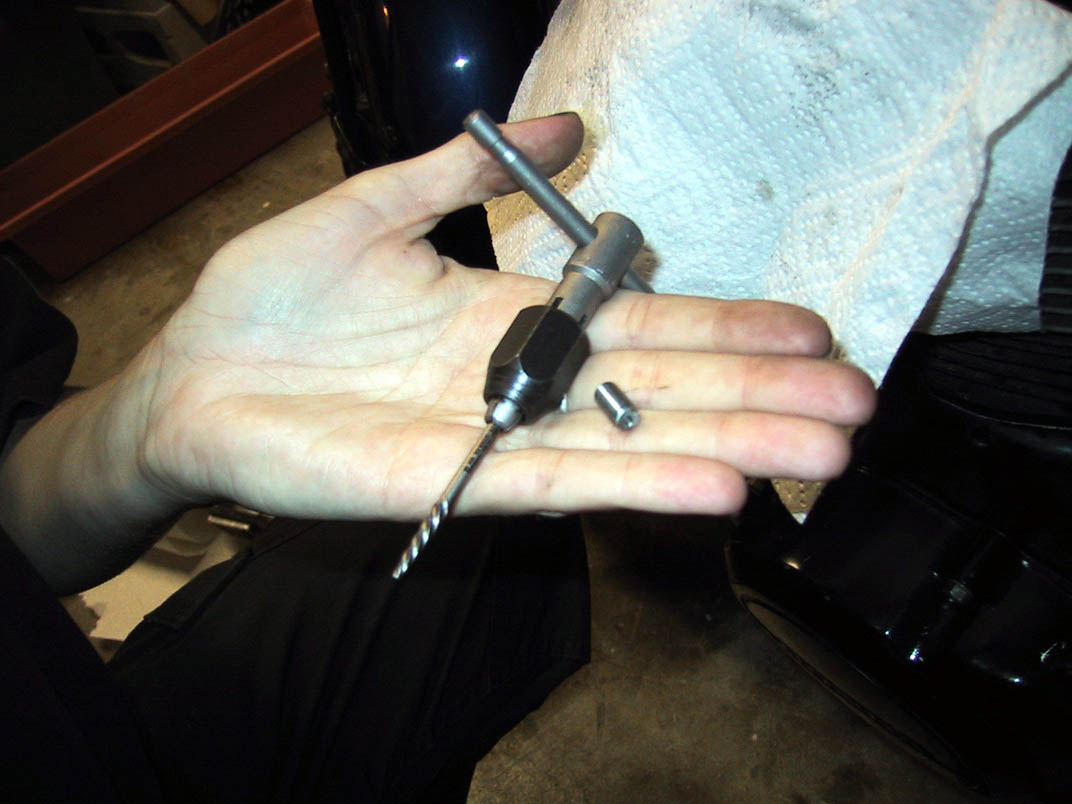
A screw extractor is actually two different parts working together: a screw extractor bit and a tap wrench. Screw extractor bits look like normal drill bits, except that they're roughly pyramid-shaped -- the tips are pointy, and they flare wider towards the base. The base has a square protuberance, which fits into the tap wrench. The interesting part about the screw extractor bit is that the threads on them run "backwards", or counterclockwise (drill bit threads run clockwise). You'll you use a normal drill bit to drill a hole in the bolt, and the push the corresponding screw extractor bit in -- the counterclockwise action used to screw the extractor bit into the hole will be the same counterclockwise action normally used to remove a bolt.
Here's a picture of the drill/extractor bits kit that I have. It includes five drill bits, and the corresponding five screw extractors. The drill bits are on the left side of the case; the screw extractors on the right.

Every report I've read about screw extractors says to use a tap wrench with the extractor bit, and not a regular box wrench. Apparently the extractor bits are easily broken when using a normal wrench -- I don't know for sure, because I didn't risk it, but I pass on the warning. The tap wrench worked perfectly for me; I bought one with a T-handle, which adjusts to hold very small bits all the way up to 1/2" bits (you'll want to compare the measurements on the extractor box with those on the tap wrench box). The end looks sort of like a drill chuck; you just slide your extractor bit in and turn a little collar to tighten it. That's all.
pre-procedure.
Look at your broken bolt and determine what size drill bit to use. You want one that will take up most of the inner diameter of
your bolt, without damaging any of the metal housing surrounding the bolt. Then, pick out the corresponding screw extractor bit.
If you get a kit, like the one pictured above, it's very easy to tell which bits go together; there's a one-to-one correspondence within
the kit. If you already have drill bits, and are buying just one extractor bit, make a note of the drill bit diameter. The extractor bit's
box should say which drill bit it'll work with. Ask the friendly hardware store employee if you're confused, because you really
don't want the extractor bit breaking off inside the broken bolt. Also make sure that your tap wrench will hold the size of extractor bit
that you need. Again, compare the measurements on the boxes.
procedure.
The first thing to do once your tools are assembled is to prepare the work space. Drills will produce little metal shavings, so if your
bolt kindly broke off in an area of your bike which is sensitive to little metal shavings, you'll want to make a little surgical covering
for it. The Nighthawk's broken bolt was one of the cylinder head cover bolts, so I had to remove the cover to get to the broken bolt.
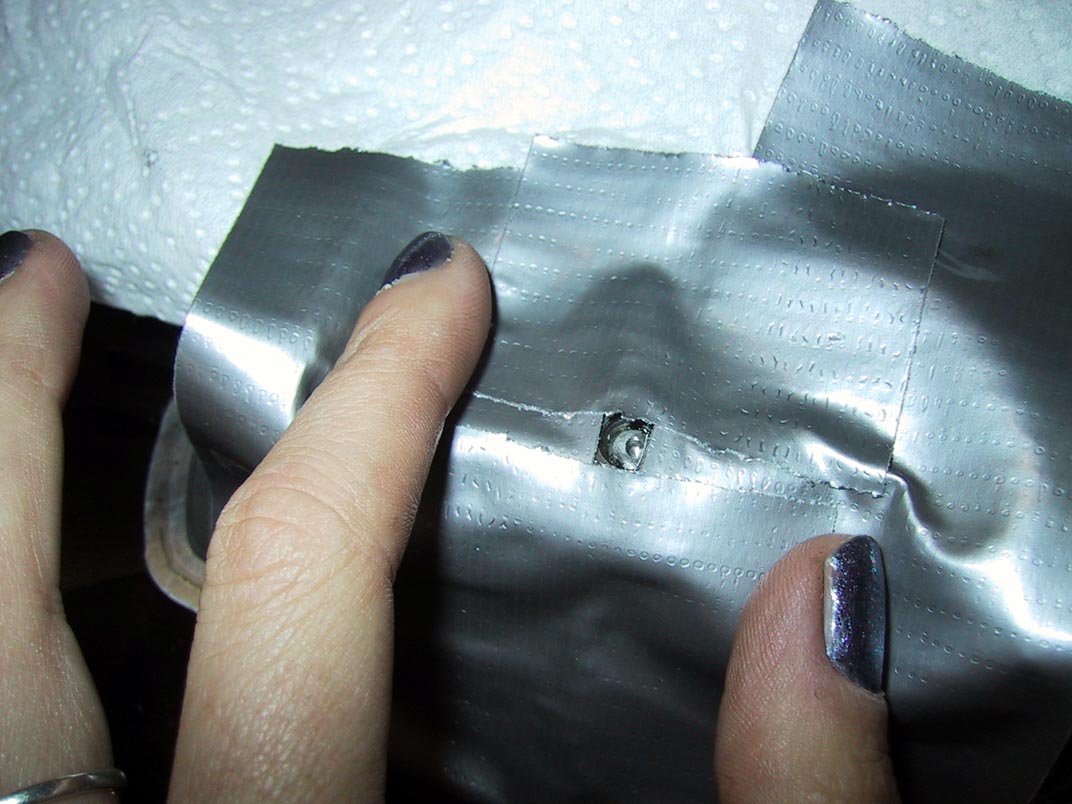
That meant we were drilling right next to exposed valves and camshafts. We taped a few layers of duct tape over the end of the cylinder
head (cutting a hole for the bolt), and attached a folded-over paper towel to catch any stray shavings.
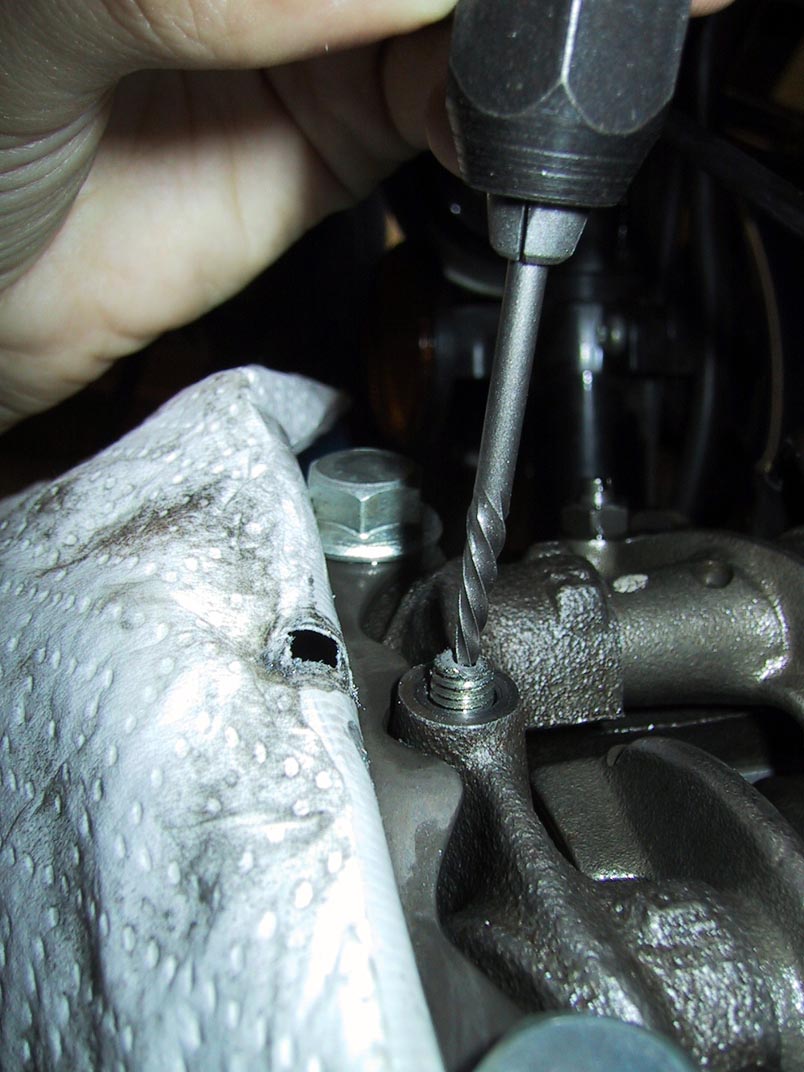
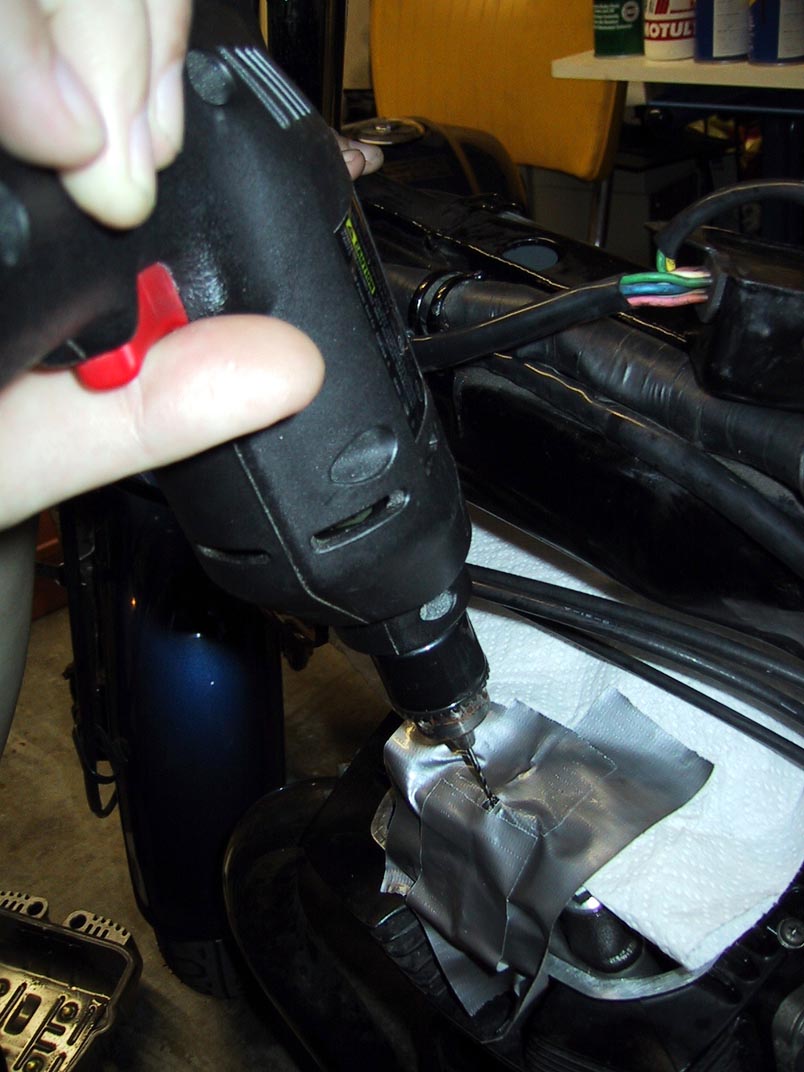
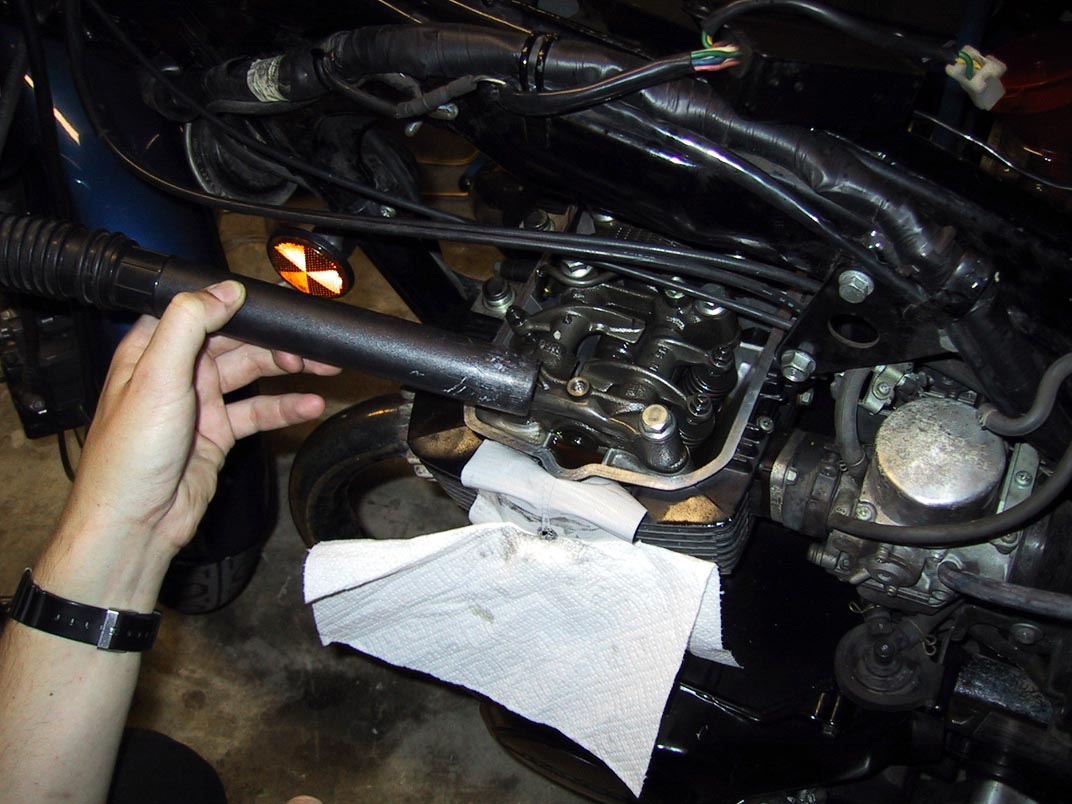
Now you're ready to drill. Put on your happy eye protection, attach the correct size drill bit, line it up smack dab in the middle of that stuck bolt, and drill. You don't need to drill all the way through the bolt; halfway through or less should suffice. Remember that you don't want to damage any non-bolt part of the bike, so it's much better to drill too little at first and then go back and drill more than it is to be over-enthusiastic and bust something. If you're in a metal shavings sensitive area, you might find it helpful to have a friend hold the tube end of a vacuum cleaner nearby to suck away stray fillings while you're drilling.

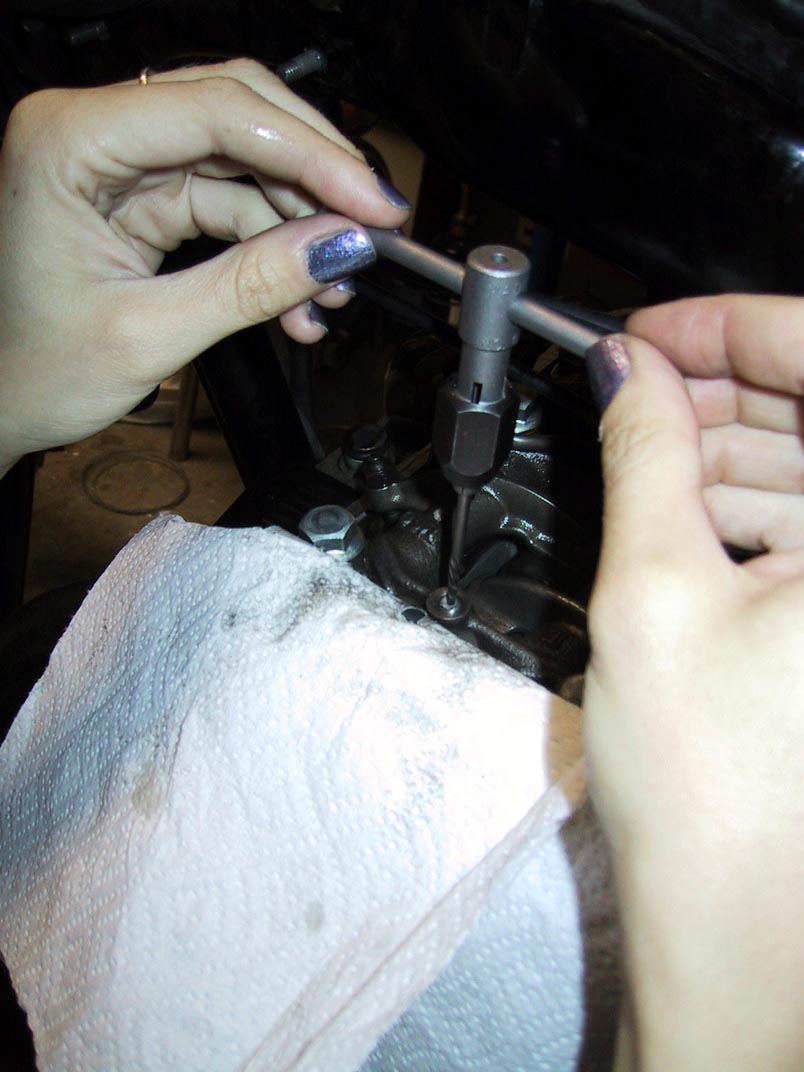
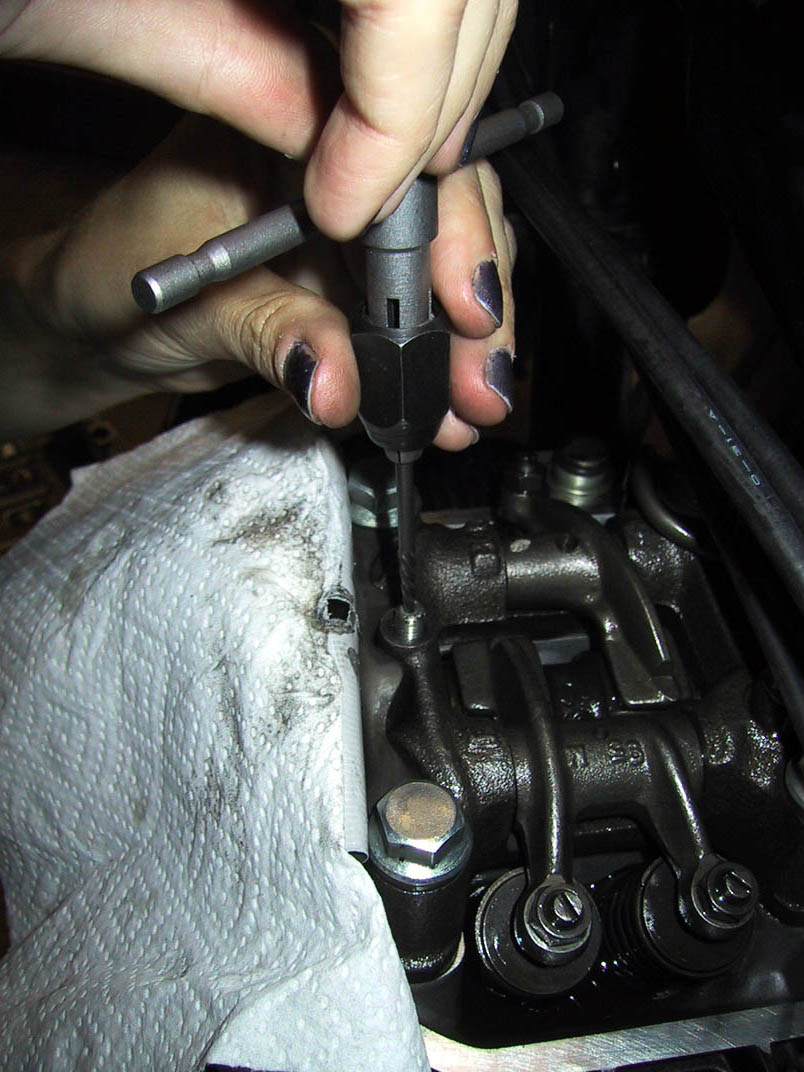
Once your hole is drilled, attach the corresponding screw extractor bit into your tap wrench. Simply insert the tip of the extractor bit into the hole that you just drilled, and turn counterclockwise. Since the threads are reversed on the extractor bit, turning it counterclockwise will tighten the bit into the hole in the bolt. The tapering on the bit means that it will eventually fit snugly within the broken bolt, at which point, turning the bit counterclockwise will force the bolt to turn counterclockwise as well. As we know with bolts, it's "righty tighty, lefty loosey", and turning a bolt counterclockwise will remove it. Huzzah! The bolt comes out, and you're happy. Now you can go reorder that stupid bike-specific bolt for ten dollars from the local dealer. Yay!