email me
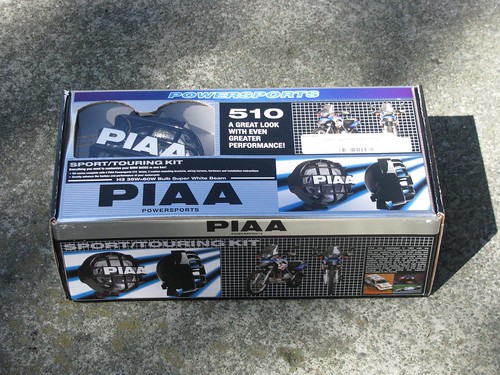
Installing PIAA 510 (35W) lights
Time needed: It took Peter and I a couple of hours, but I think that was mostly because we were hungry. I'd guess it should take maybe an hour.
- PIAA 510 Sport/Touring Kit
- Quick-splice wire tap
- Drill and 7/8" drill bit
- T30 torx bit
- 18mm socket
- Silicon sealant or something else tacky and sticky
- Loc-Tite
- Adhesive-backed Velcro
background.
You can really never be too visible on a motorcycle. I wanted these aftermarket lights to run at night or in the rain.
pre-procedure.
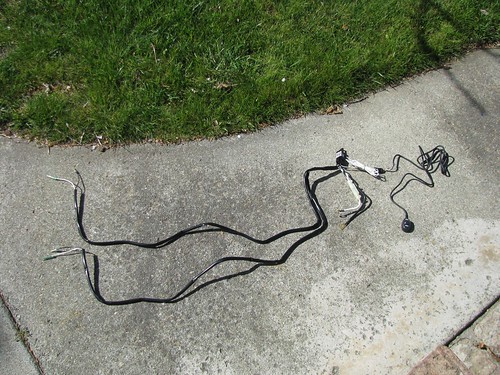
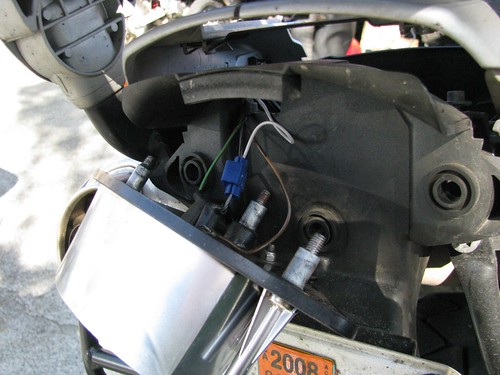
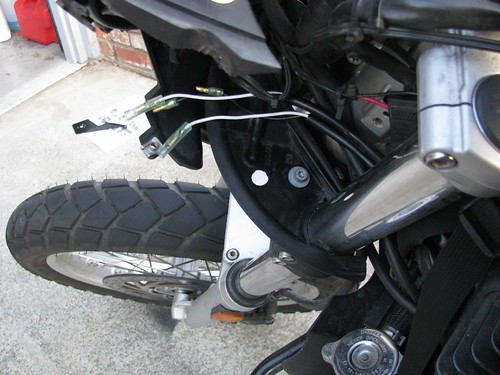
The wiring harness can be a little confusing, so take a minute to familiarize yourself with it. From left to right in the photo below, we have: the two leads each running off to a PIAA light, the leads to the battery (the white and black leads with ring connectors), a white sense wire, and the wire ending in the handlebar on/off switch.
To make your life easiest, you'll want to take off the seat, the plastics over the airbox, the front fender, the windscreen, and loosen the headlight cockpit. Yes, it's all pretty much necessary. It really does make your life easier. Just suck it up and do it.
procedure.
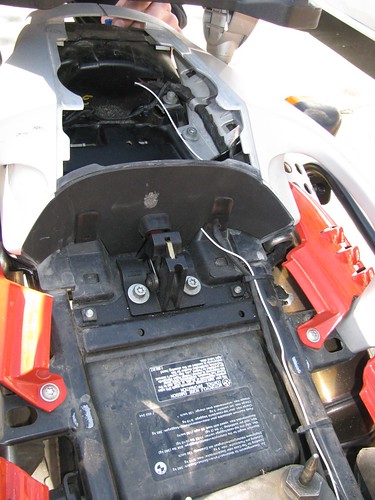
I have a fuse block, so I put the postive and negative battery leads for the PIAA lights on that. I hooked the ring connecters directly onto the fuse block posts since the PIAA wiring already has an inline fuse (you can't really see it in the photo, but it's a 20A glass tube fuse in a space-age looking white pod).
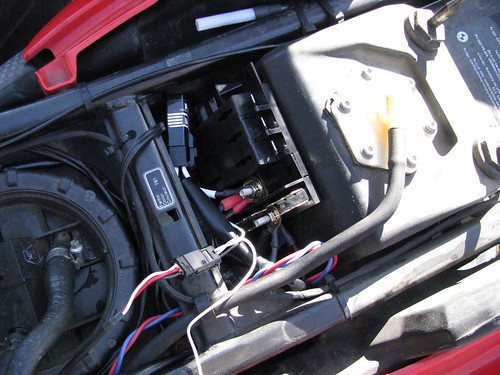
Since my fuse block is towards the rear of my bike, I hooked the white sense wire up to my taillight. The point of a sense wire is just that -- to sense when the wire it's spliced into is getting power. If that wire stops getting power, the sense wire tells the PIAAs to turn off. This way, I won't accidentally leave the PIAAs on after the taillight is off -- since the taillight goes off with the ignition, so will the lights.
If you don't have a fuse block and are installing these lights the "normal" way, the instruction booklet recommends splicing into the headlight wire. It'll work the same way, but I don't have photos of splicing those wires.
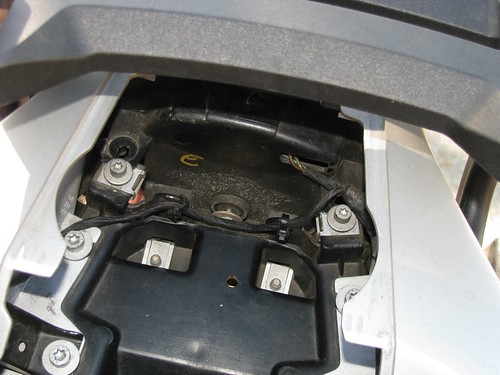
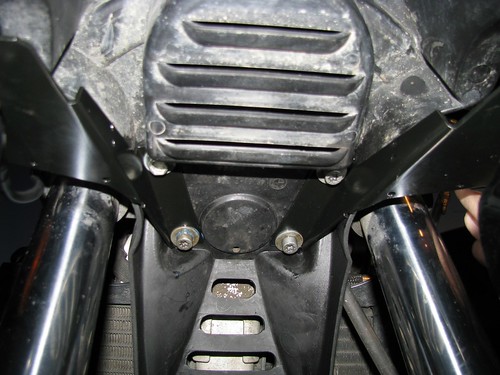
To get to the taillight wire, you remove the license plate bracket (two hex bolts inside the storage compartment; two coming up from the underside of the bike):
Next, you undo the thee bolts on the back of the license plate bracket:
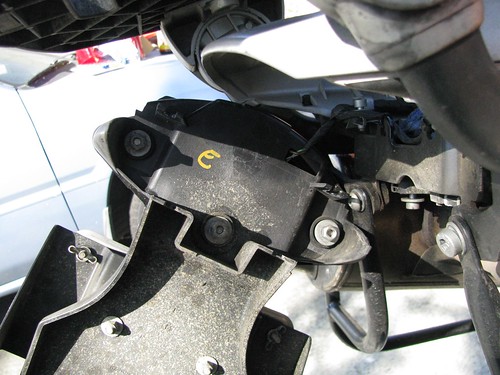
And you splice right into the gray wire a quick splice wire tap.
Here's the routing for the white sense wire going from the fuse block (where the toolkit was) back to the taillight:
Now you want to route the PIAA wiring up to the front of the bike. I ran the wires for both lights up the lefthand side of the bike from the fuse block, alongside the airbox, and inside of the left fork, like so:
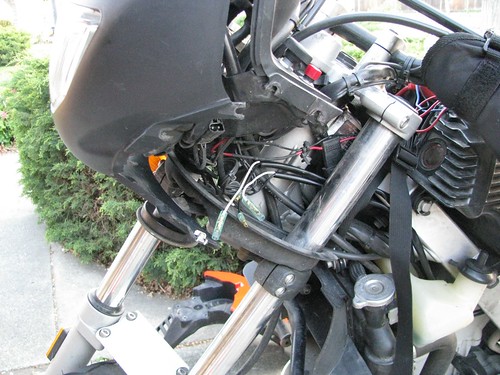
(The PIAA wires are the black and white ones with loose bullet connectors)
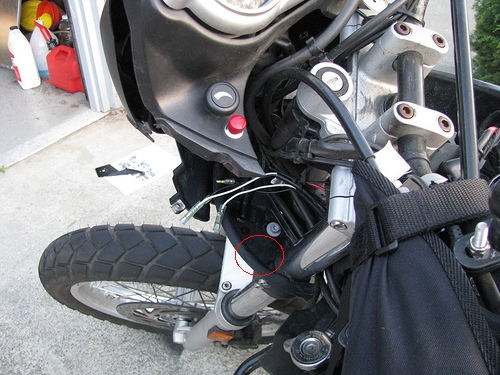
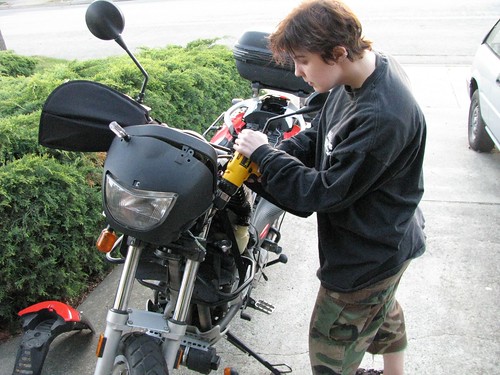
The fun part: now you have to drill a hole for the wires to run down through the front fender. Here's roughly where you want to drill, though of course you'll want to hold up your fender and figure out the exact placement yourself:
I look somewhat confused to be drilling holes in my bike in this photo. I'm not sure why; you'd think I'd be used to it by now...
....And we have wiring access hole!
OK, we're getting ready to install the actual lights now. About time, right? First remove the nut that came on the PIAAs (18mm) and install the light onto the mounting bracket.
It doesn't matter which light installs on which bracket.

The next part is pretty damn near impossible without additional hands. Go find a friend -- preferably someone you don't like very much -- and then come back.
OK, so what you're going to do now is have one person hold the PIAA lights, one in each hand. The other person should carefully set the front fender on top of the lights so that the holes in the brackets line up with the mounting holes in the front fender. The first person should now be precariously balancing both the lights and the front fender.
The second person should now grab the four washers that came off of the front fender mounting bolts. Smear sealant on the washers and then press them on TOP of the front fender, over the mounting holes. The first person should now be getting tired and cranky.
Both people need to now somehow crawl up under the bike so that the mounting holes in the fender/bracket are roughly lined up with those on the motorcycle. The first person is now cramping up and swearing.
The second person gets back up and finds the PIAA wiring lights, threading them through the hole you drilled earlier. With any luck, you eyeballed it correctly and have a clear shot down. The first person is still, sadly, holding the lights and bracket.
The second person now crawls up behind the fender with the four mounting bolts (put Loc-tite on first!) and hand-threads them one at a time into the bike. This will probably take you a really long time and the first person will now never speak to the second person ever again ever dammit.
Due to not having seven hands, I have no photos of the above. My apologies.
Tighten up the four mounting bolts with the T30 torx bit.
Finally, just route the handlebar on/off switch wherever you want it and mount it with adhesive-backed Velcro.
result.
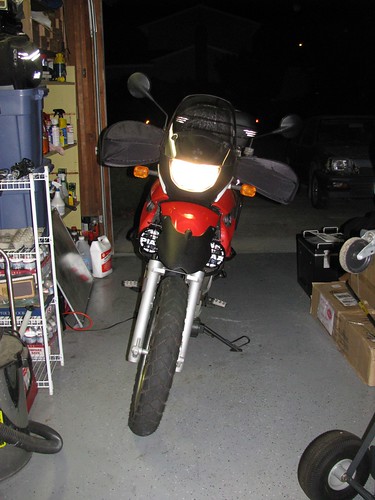
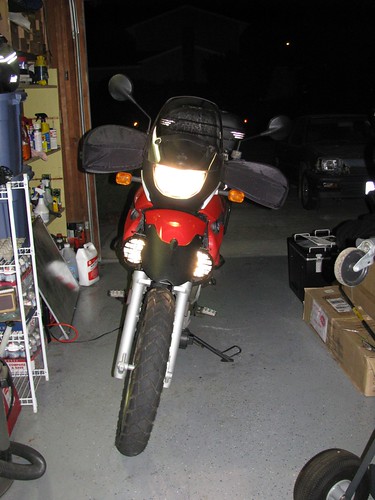
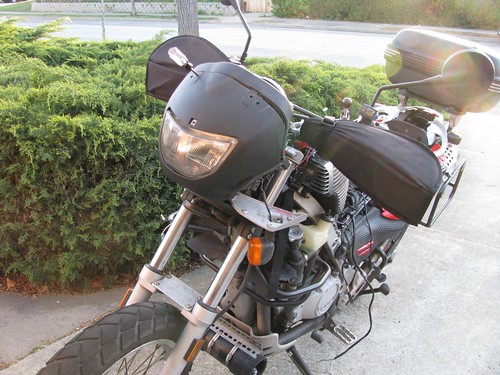
Here are the PIAA lights installed:
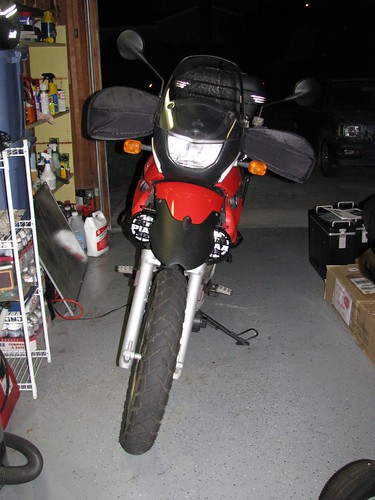
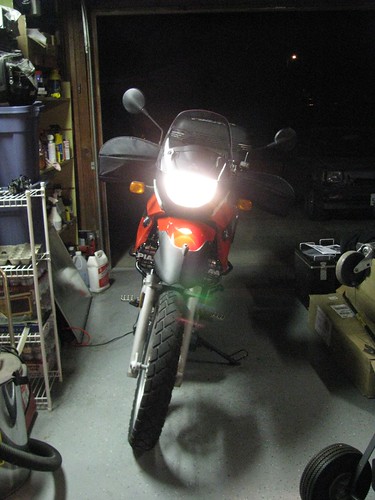
They look pretty good, huh? Here are a couple of comparisons, first with the camera flash on and then off: